How to Saree Pre Pleating Step By Step
Published on Apr 01, 2025
Wearing a saree is an art, and pre-pleating makes draping quicker and easier while ensuring a neat and elegant look. Whether you're a beginner or just want to save time, pre-pleating your saree can be a game-changer. Let’s go step by step on how to pre-pleat a saree perfectly.
Why Pre-Pleating a Saree is Beneficial?
Saves Time – No last-minute struggles while draping.
Ensures Neat Pleats – Gives a polished and structured look.
Reduces Fabric Handling – Helps in managing heavy or slippery sarees.
Perfect for Events & Travel – Pre-pleated sarees are easy to wear anytime.
Step-by-Step Guide to Pre-Pleat a Saree
Step 1: Gather Your Essentials
Before you begin, keep the following items ready:
1. A saree
2. Safety pins
3. A flat surface (like a table or bed)
4. Measuring tape (optional)
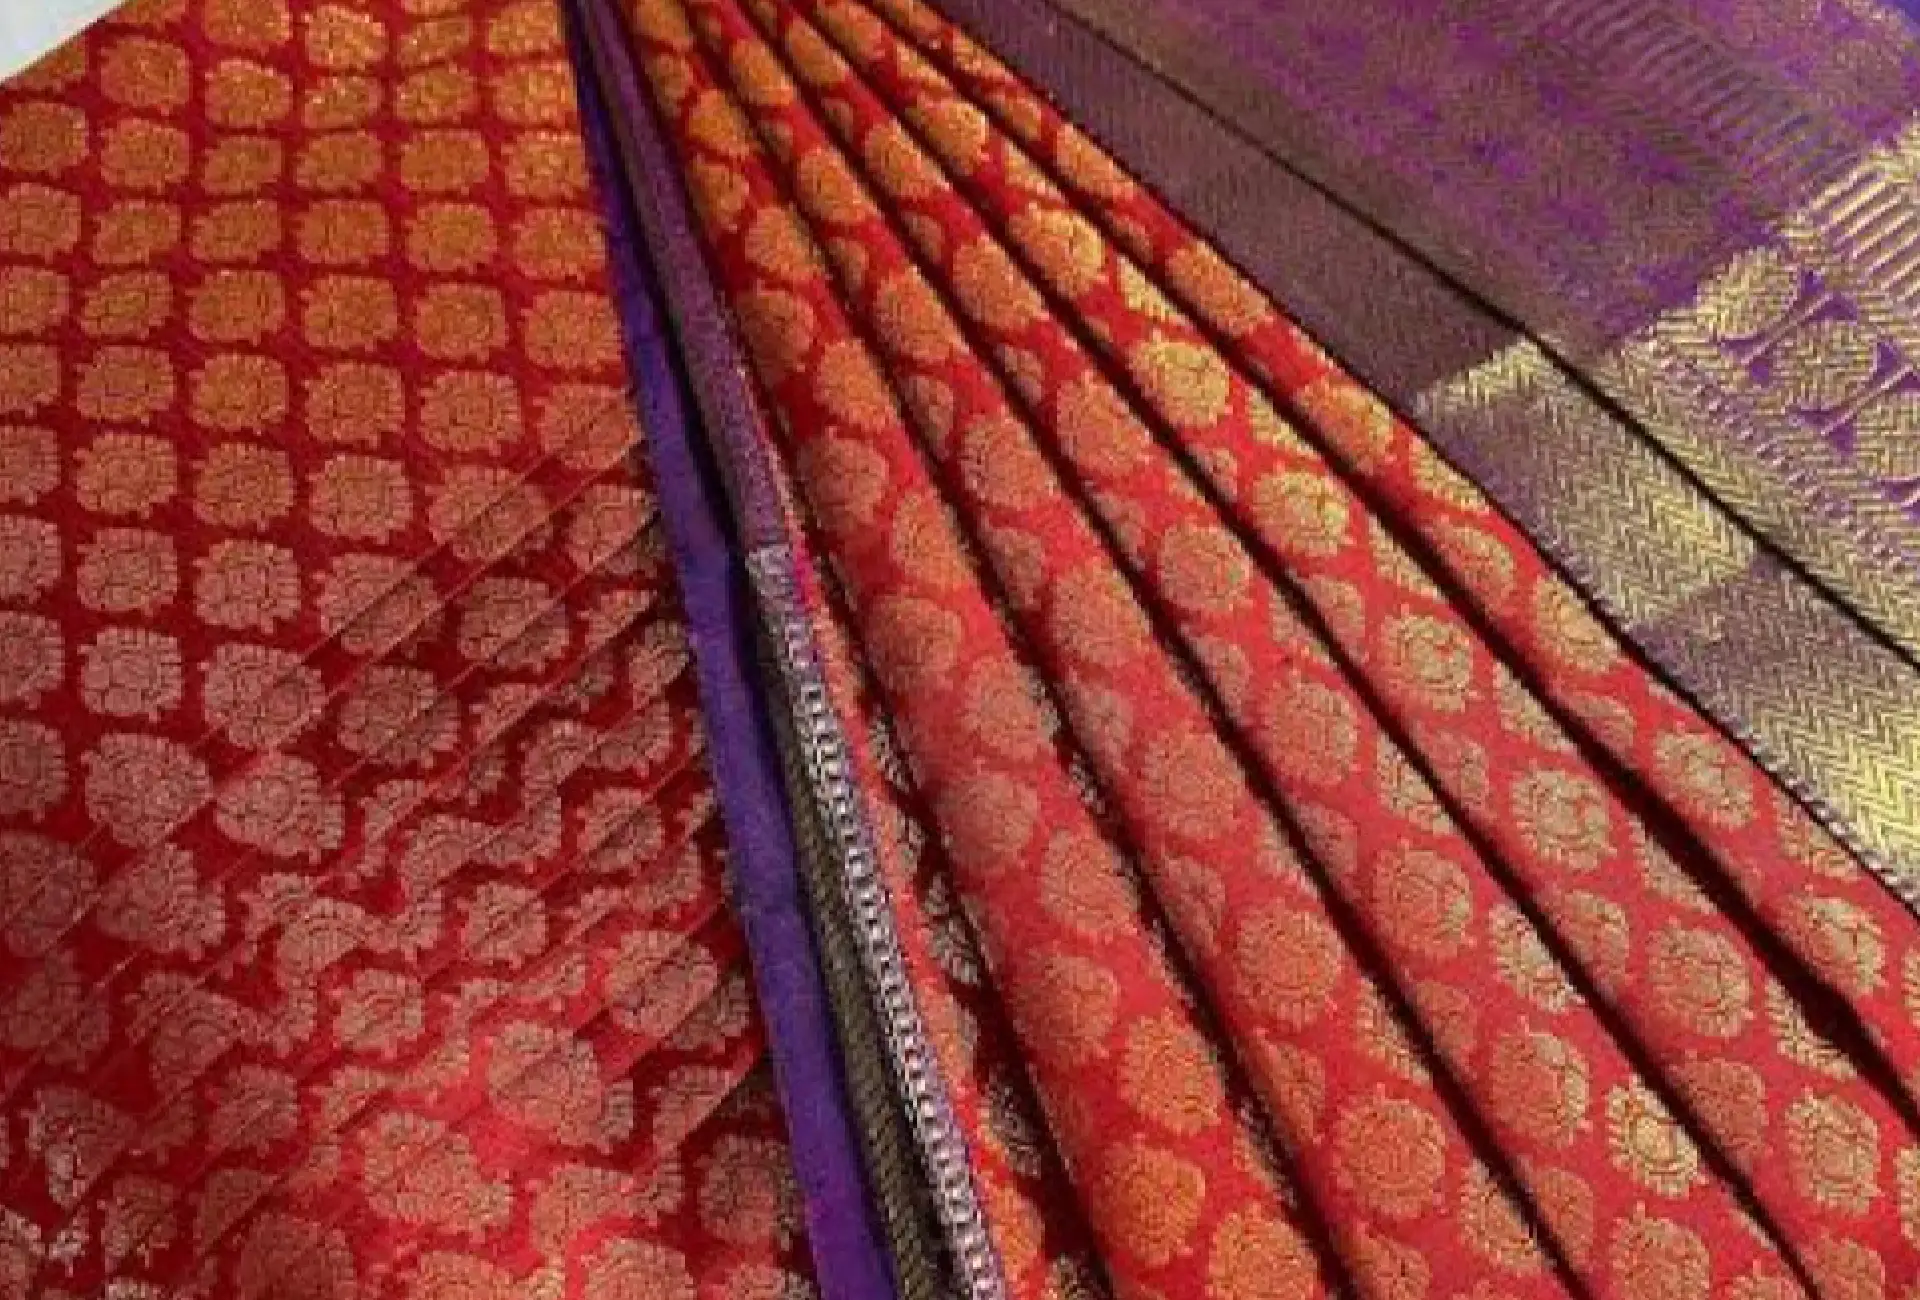
Step 2: Pre-Pleating the Pallu
1. Identify the Pallu End – Start from the side where the saree pallu is.
2. Measure the Length – Keep enough fabric length for the pallu to fall gracefully over your shoulder.
3. Make Even Pleats – Fold the pallu into pleats (about 6 to 7 inches wide).
4. Secure with Pins – Use a safety pin at the top to hold the pleats together.
5. Iron the Pleats this is Optional – Press the pleats lightly for a crisp look.
Step 3: Pre-Pleating the Front Pleats
1. Find the Center of the Saree – Hold the saree at the point where you will tuck it in.
2. Start Making Pleats – Fold the fabric into 6-7 pleats (around 6-7 inches wide).
3. Align the Pleats Properly – Make sure the pleats are even and aligned.
4. Secure with a Pin – Pin the pleats together at the top to keep them in place.
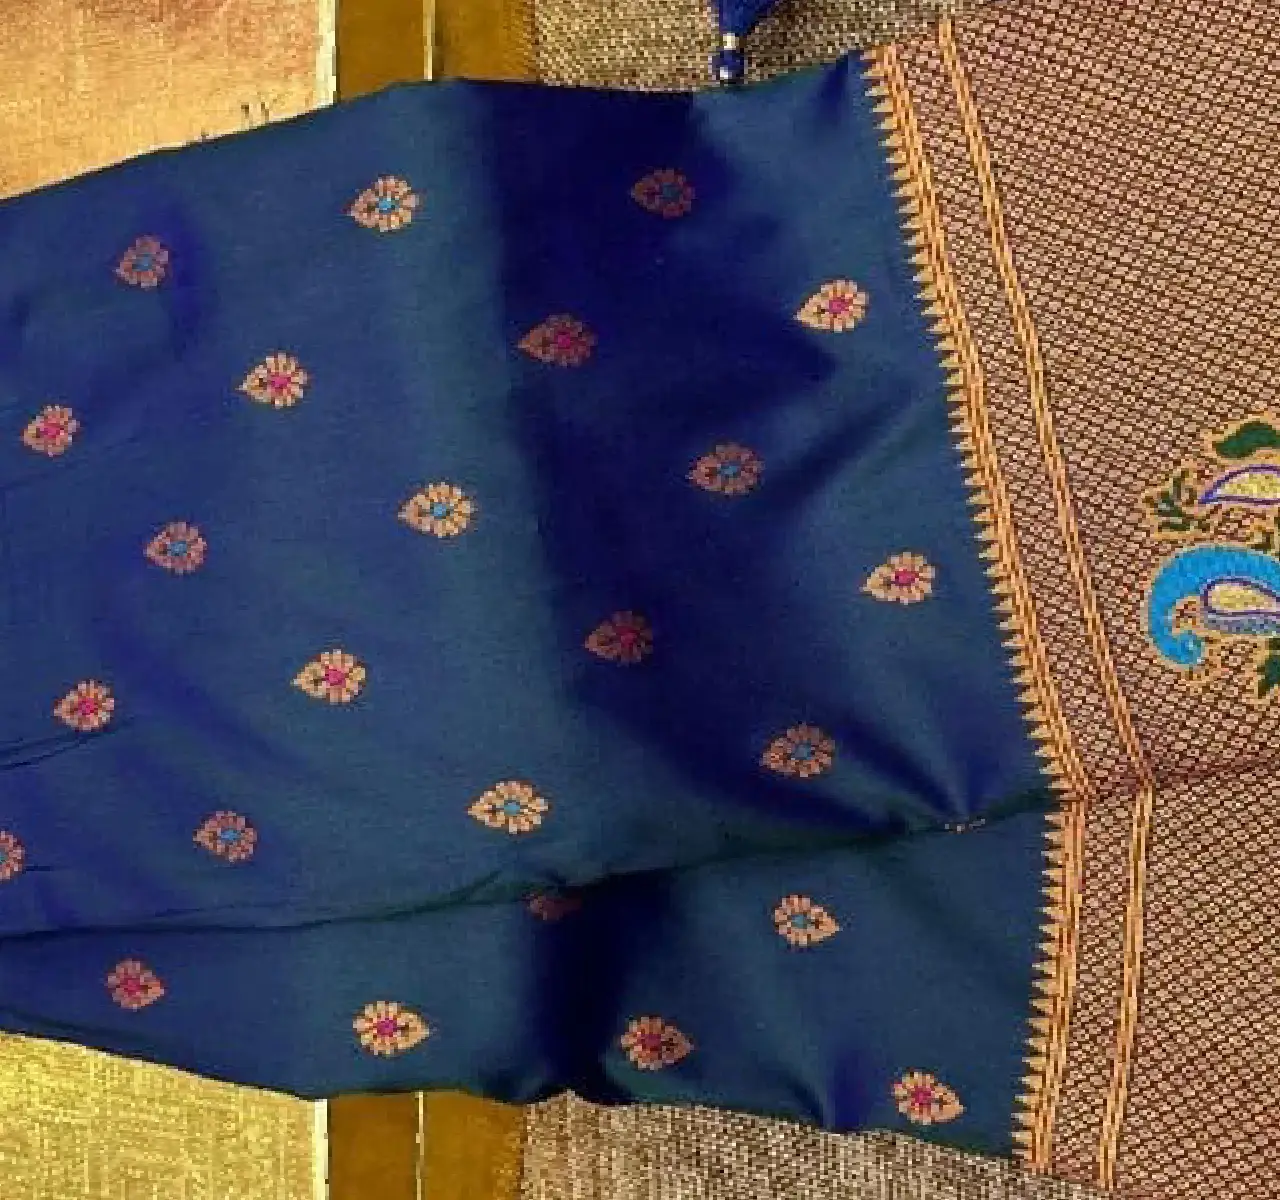
Step 4: Storing the Pre-Pleated Saree
1. Roll the Saree Neatly – Once the pleats are pinned, roll the saree gently to avoid wrinkles.
2. Keep it on a Hanger – Hanging the saree helps retain the pleats.
3. Use a Garment Bag – If you’re traveling, store the pre-pleated saree in a garment bag.
How to Wear a Pre-Pleated Saree in Minutes
1. Tuck the Pleats – Secure the pre-pleated front pleats into the petticoat.
2. Wrap the Saree Around – Drape the remaining part of the saree around your waist.
3. Place the Pallu – Adjust the pinned pallu over your shoulder.
4. Final Adjustments – Make sure everything is neat and secure with extra pins if needed.
Best Saree Types for Pre-Pleating
. Georgette & Chiffon – Flowy and easy to manage.
. Cotton & Silk – Crisp pleats stay in shape.
. Crepe & Satin – Best for smooth drapes.
Final Tips for a Perfect Pre-Pleated Saree Look
. Iron the pleats to keep them crisp.
.Use small safety pins to avoid fabric damage.
. Match your petticoat color to avoid a mismatched look.
. Secure the pallu well to prevent slipping.
Pre-pleating your saree makes draping effortless and ensures a beautiful look every time. Try this method for weddings, office wear, or functions, and you’ll never struggle with saree draping again!


Comments
Views: 689
Login to comment